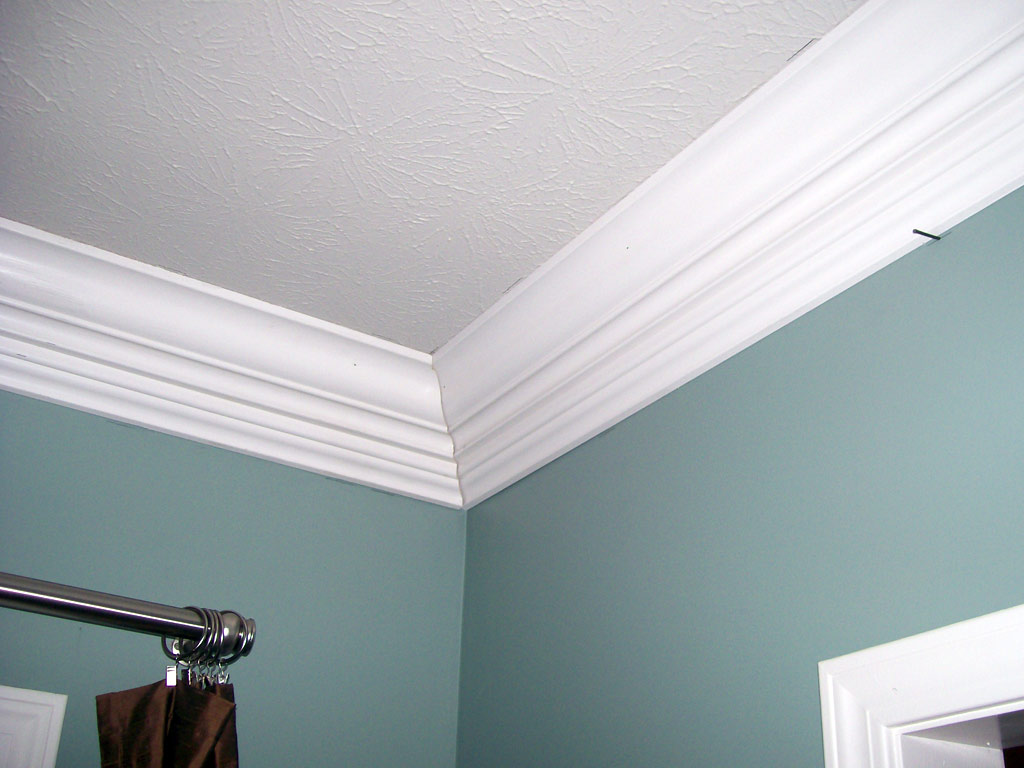
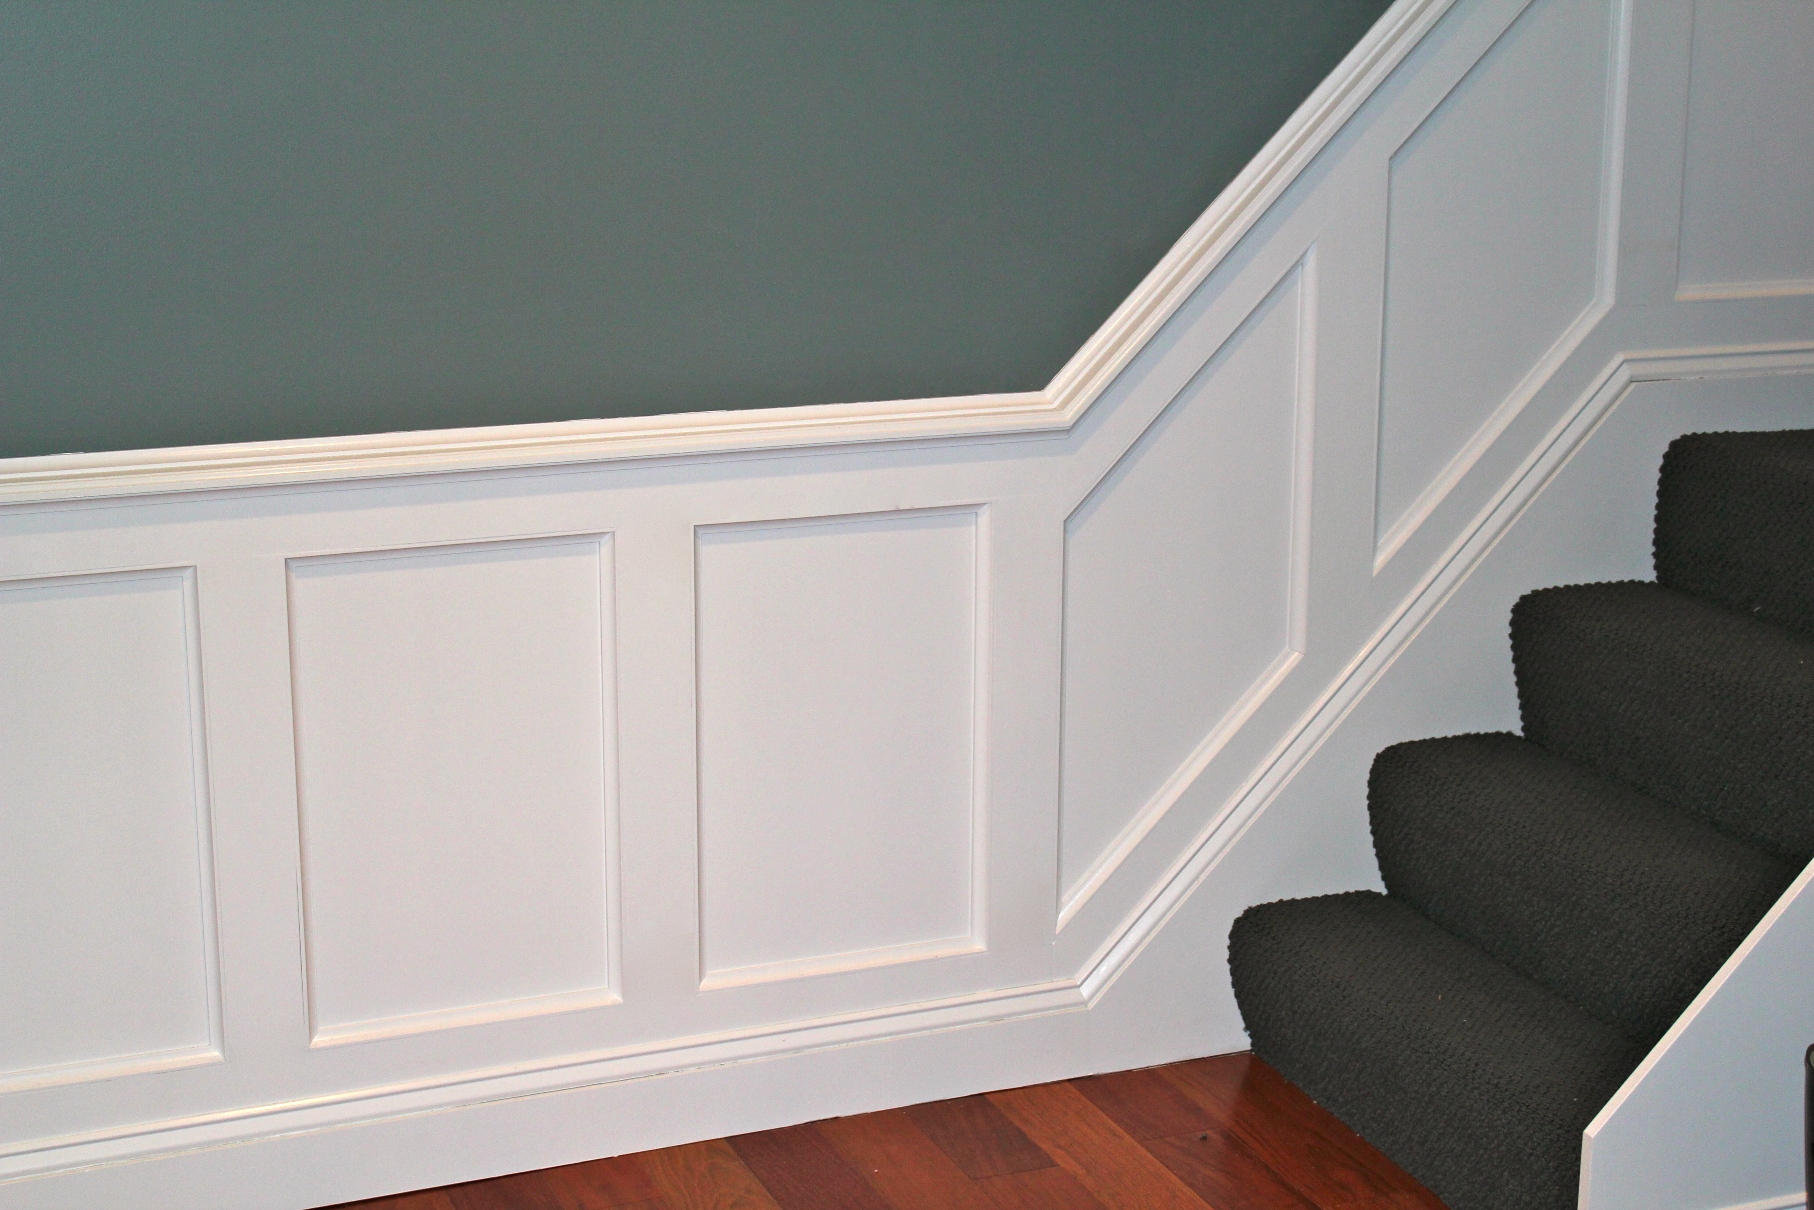
Woodworking projects such as crown moulding and wainscoting change ordinary rooms into architecturally rich spaces. While even the most adventurous homeowners stick with a can of paint when it comes to walls, these do-it-yourself projects are not quite as difficult as they appear. Gather your tools, pull out your pencils, and head to the lumber store.
Crown Moulding Installation

The general rule of thumb when it comes to crown moulding is that the higher your ceilings are, the wider the crown moulding can be. Measure your room’s dimensions and select the type of moulding you want to install. The following simple steps will complete your project:
- Prepare the site. Use backer board to secure the moulding to the walls and ceiling. Use a stud finder to locate points of secure attachment.
- Cut your corners. There are two distinct types of corners: inside corners and outside corners. Inside corners will be near 90 degrees. Use a coped joint for a custom fit. Outside corners require custom fitted joints around 45 degrees. Once you’ve cut them, glue helps to hold them into place during mounting.
- Joins along a straight run. Use a scarf joint to join pieces running along the wall for a better look.
Some people paint or stain the moulding before installation. Keep in mind that it will have to be touched up before the job is done. Others choose to paint after installation. The choice is yours.
Do-It-Yourself Wainscoting

Advanced do-it-yourselfers may choose to build their wainscoting from the ground up. However, this isn’t necessary since there are so many interesting products on the market in many different architectural styles. After measuring, use these tips to get a finished look that rivals professional jobs.
- Use tape for true lines. Blue painter’s tape adheres nicely to painted walls and makes it easy to mark the height of your wainscoting. Measure twice, use a chalk line and level, and your final product will be parallel to your ceiling.
- Cuts are more forgiving on walls than ceilings. You won’t need to make any special cuts since you can piece your corners together with simple 90 and 45 degree cuts to define the base of your walls.
- Use your stud finder. Drive your nails in along pre-marked locations where your studs are located.
When the room is carpeted, be sure to pre-paint any moulding that will be installed along the floor line. It’s easy to do quick touch ups and eliminates messes during painting and staining.


